Setting Up Microsoft User Sync
Below is a short guide on how to set up the Microsoft User sync so that your active directory is linked to your Boxphish tenancy list. Before starting your Microsoft User Sync, it is advised that you…

Below is a short guide on how to set up the Microsoft User sync so that your active directory is linked to your Boxphish tenancy list.
Navigate to the Boxphish portal on your admin account as normal here.
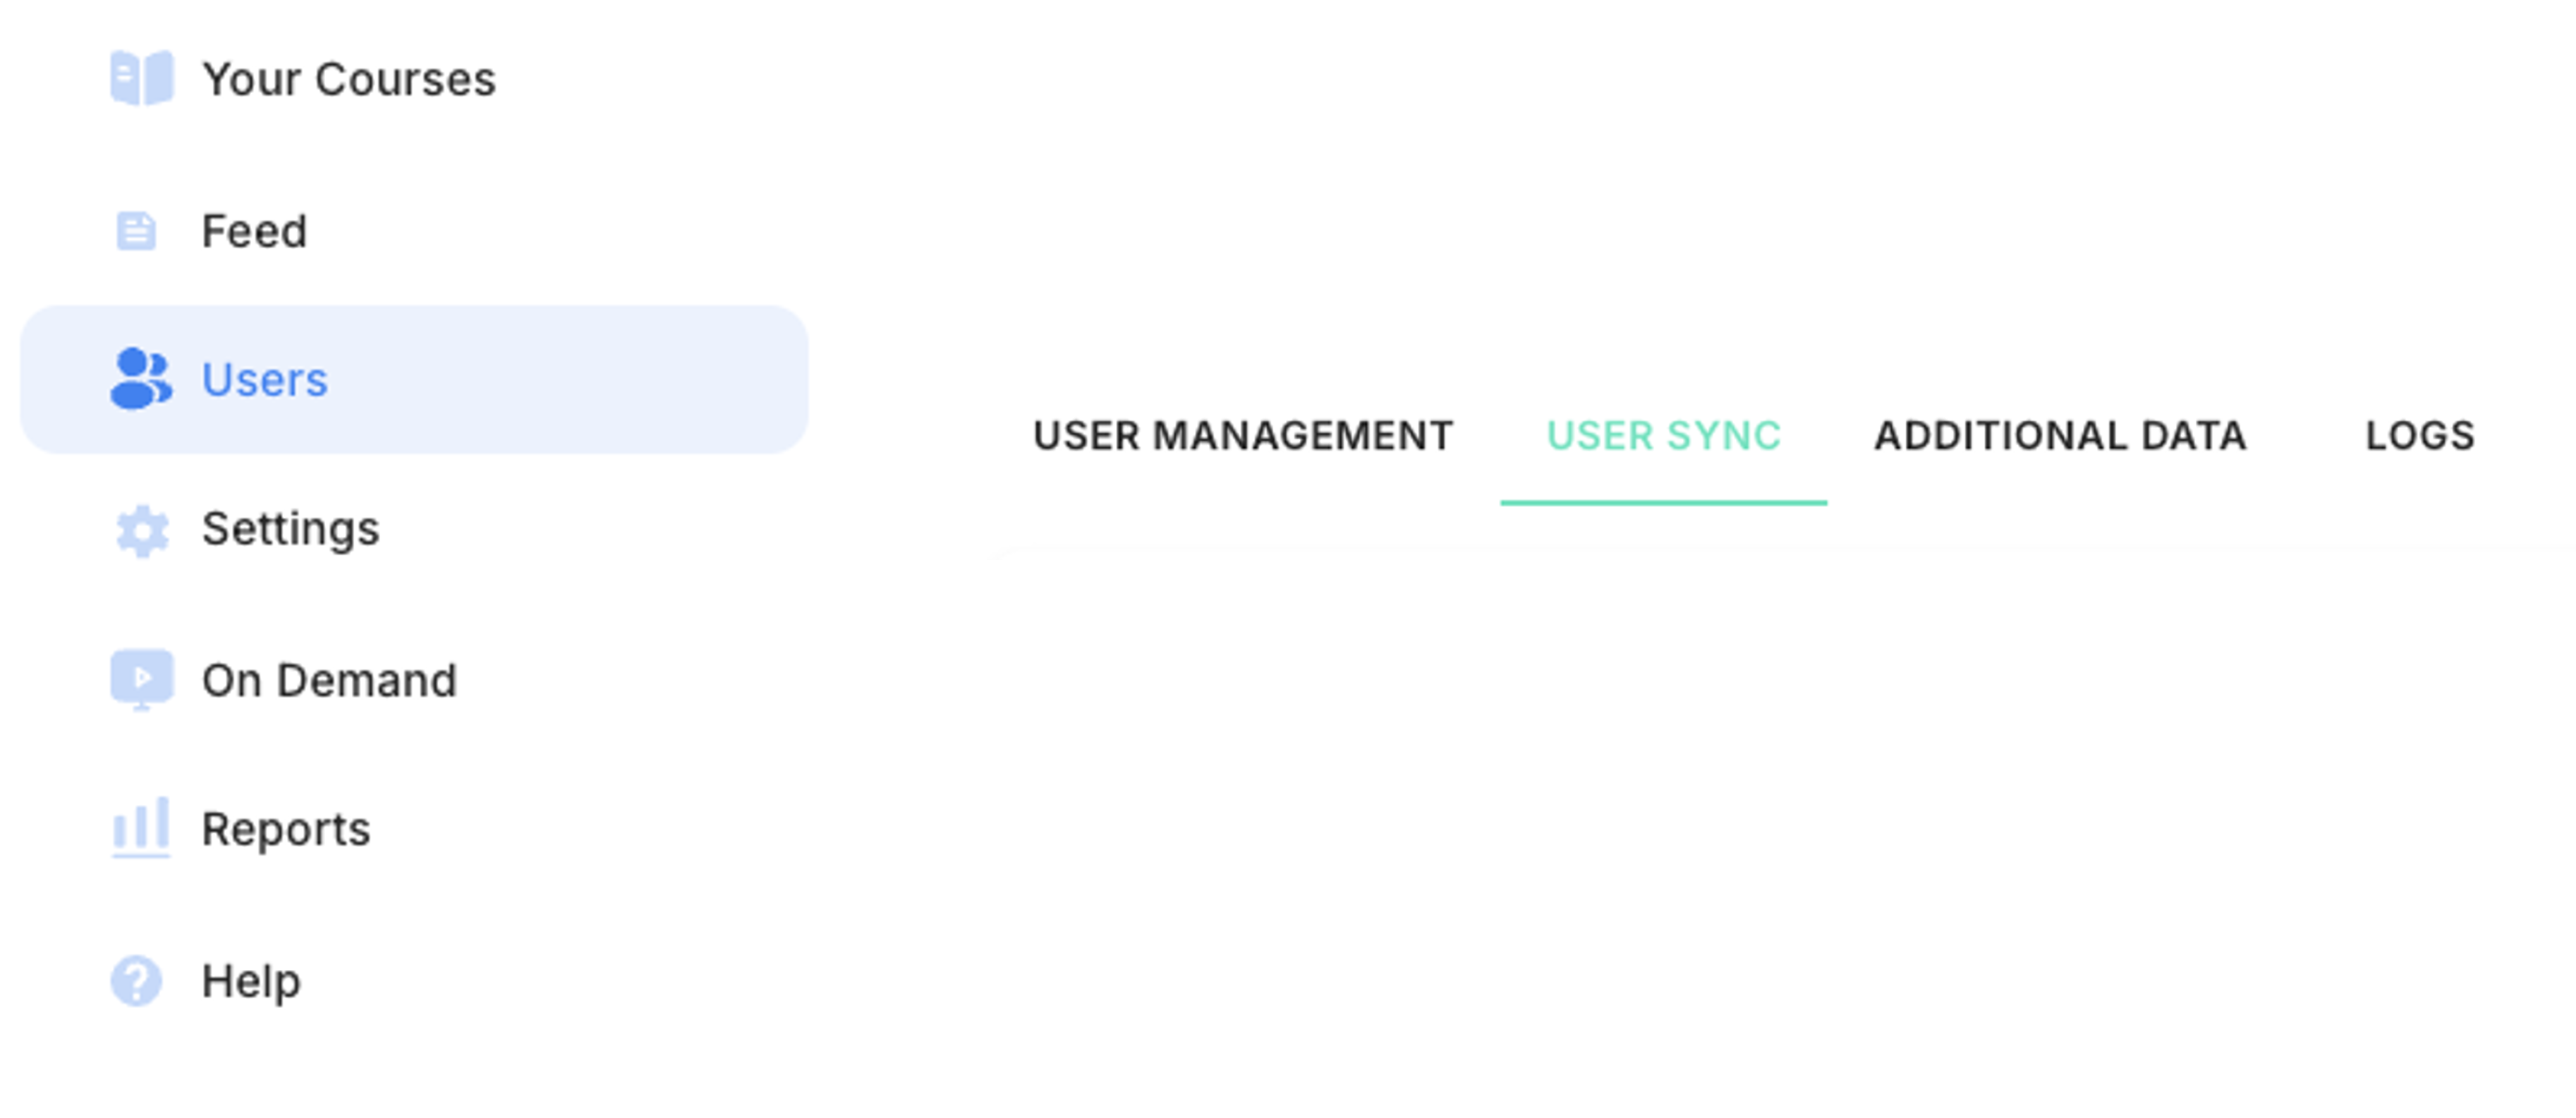
Click on 'Users' on the left-hand menu. On the top tab, ensure 'User Sync' is selected as shown below:

User Sync
The 'User Sync' tab will allow administrators to connect the UI to the appropriate Microsoft or Google user management system and maintain user accounts automatically. The image below shows the this tab with no connection to a user management system.

If the a User Management system is already connected the banner will appear as below, with an icon to show if it is M365 or Google that is connected. It will also show if the connection has failed. In order to change the 'User Sync' setup, clicking the 'Reconfigure' option will allow an update to the full configuration to be made.

On clicking 'Reconfigure' the same steps as 'Connect' should be followed, as detailed below.
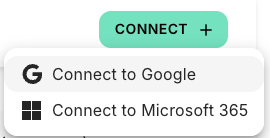
On clicking 'Connect' the user can choose from either Google or Microsoft, with the steps slightly different for each. The following section will detail each in turn.

Connecting to Microsoft
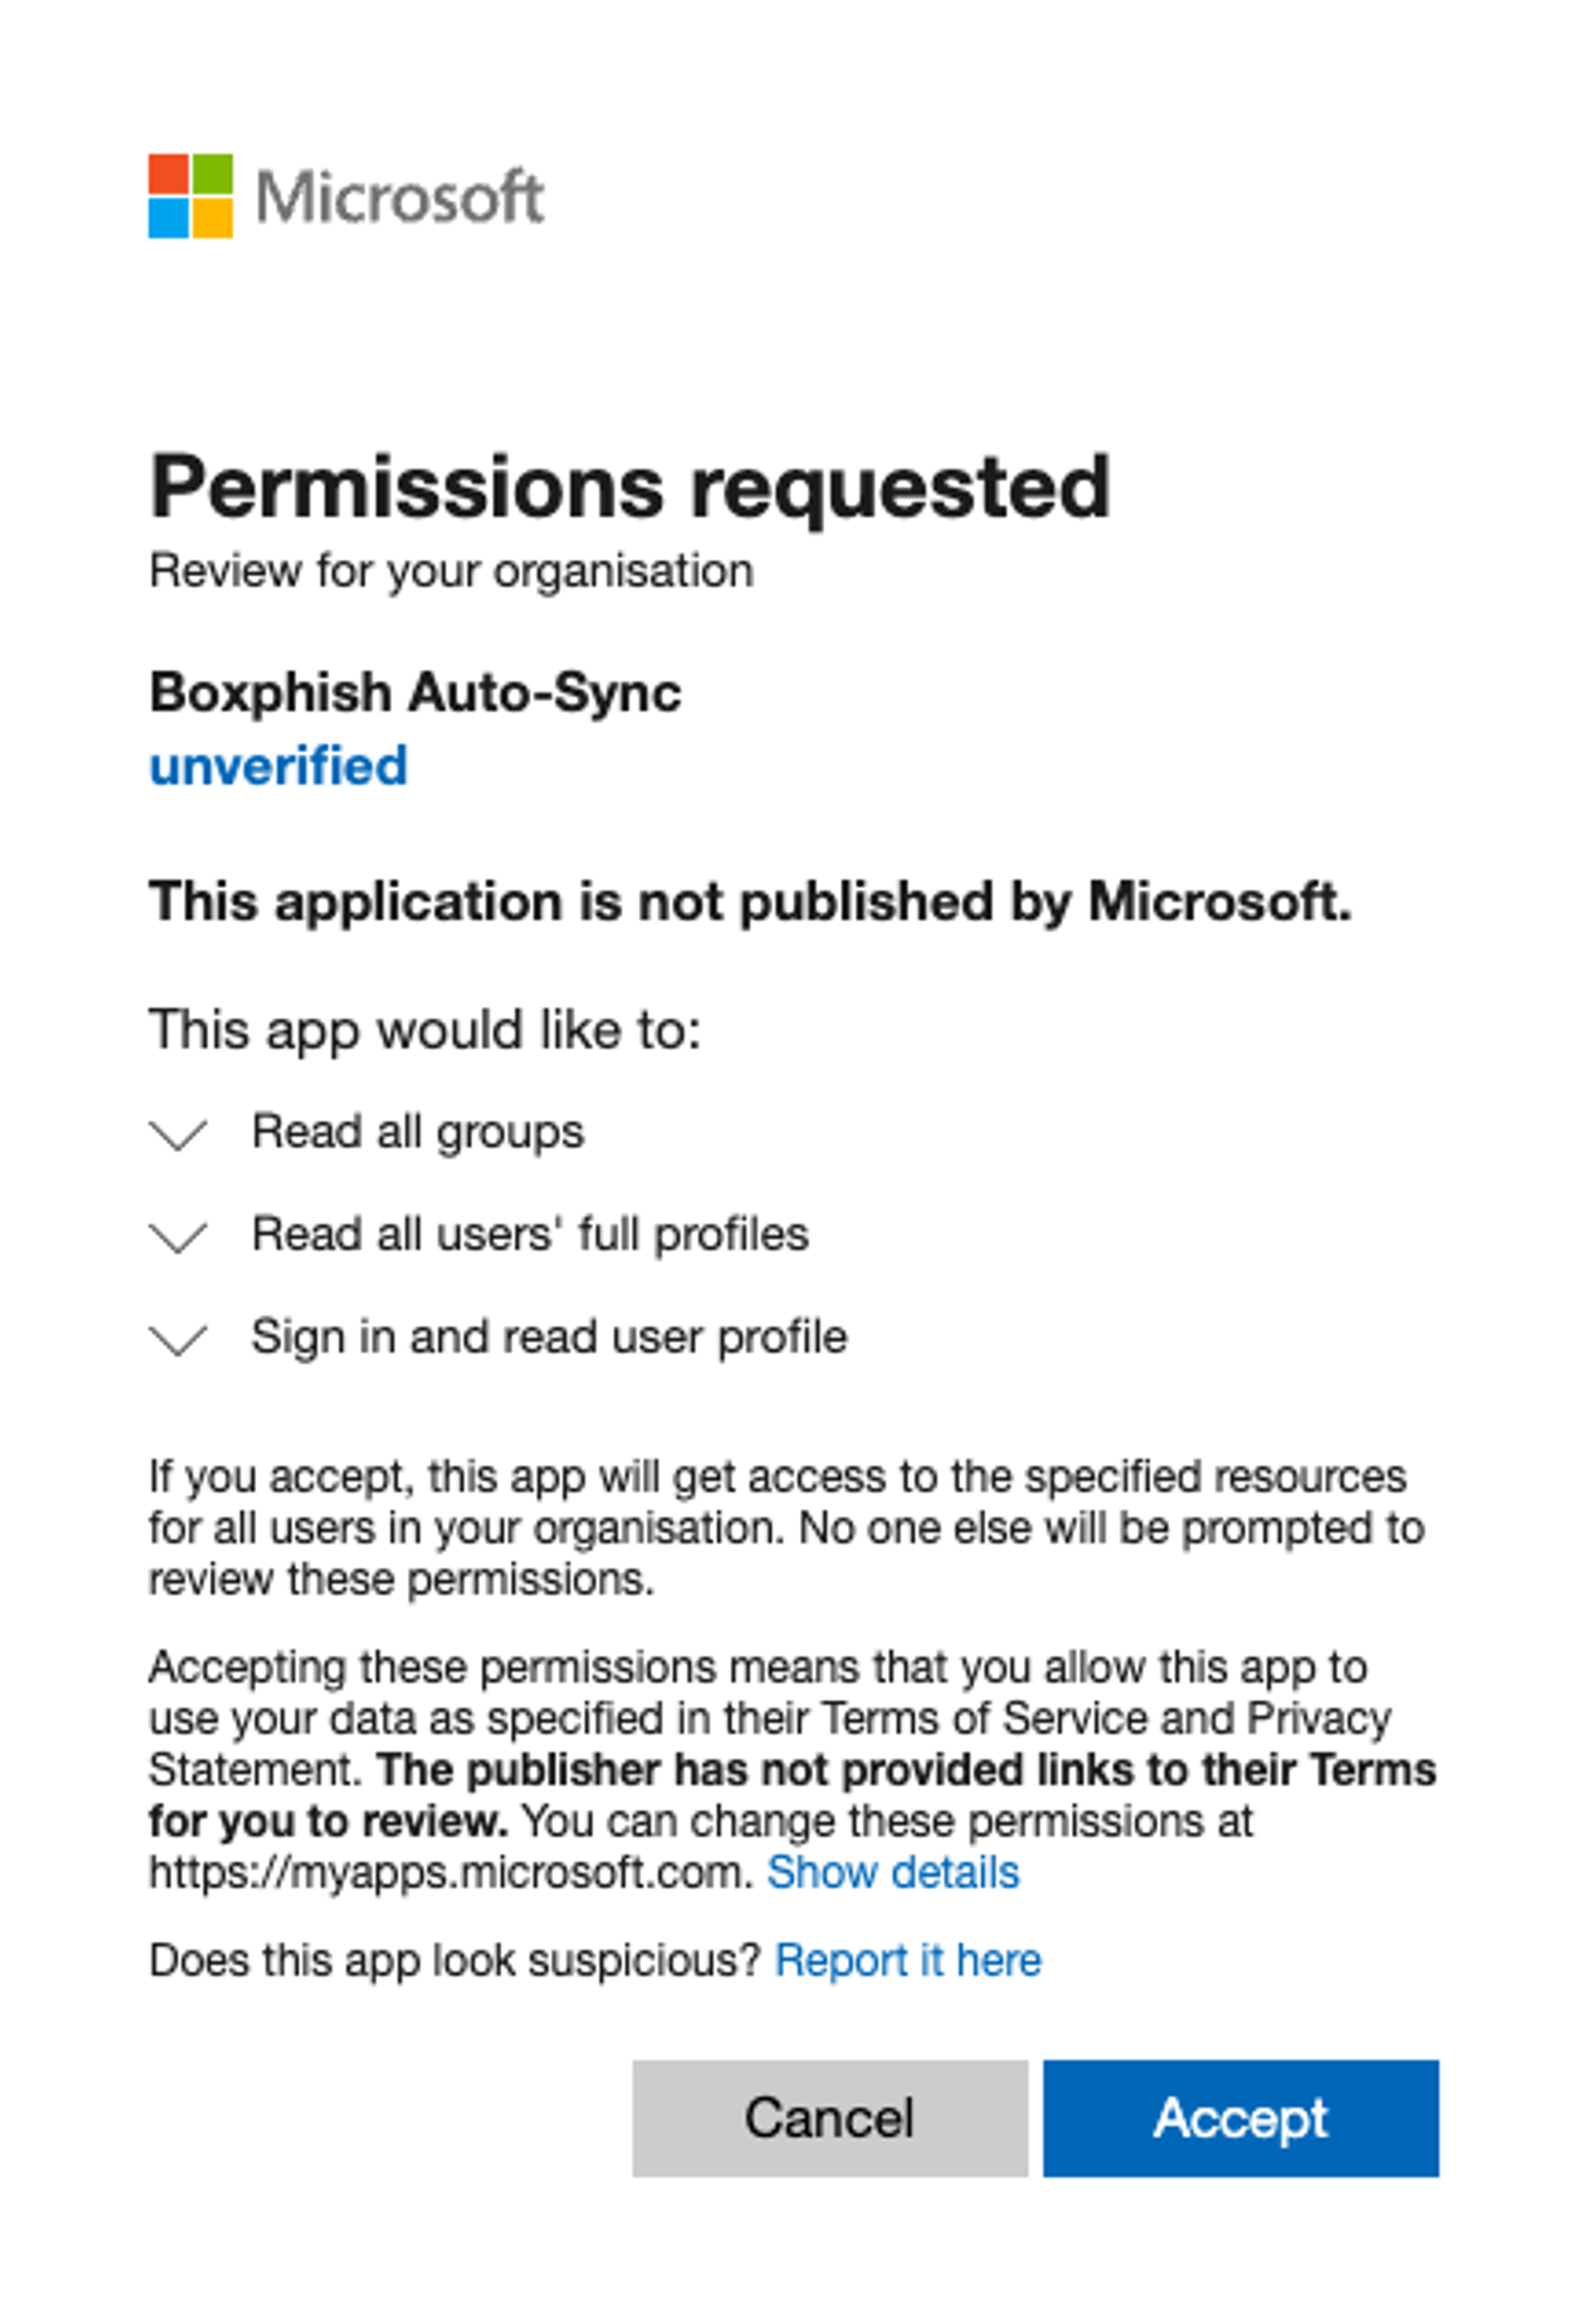
On selecting 'Connect to Microsoft 365' the user will be taken to a new browser window and asked for their Microsoft credentials. Once logged in the screen below will be presented to the user and must be accepted for the user sync to run. This will install an application in the Microsoft tenant and grant it read-only access to the User Groups and Profiles needed.

On accepting, the application will be installed and start importing the User Groups, whilst this runs a progress bar will be displayed.
Selecting Groups and Auto Sync
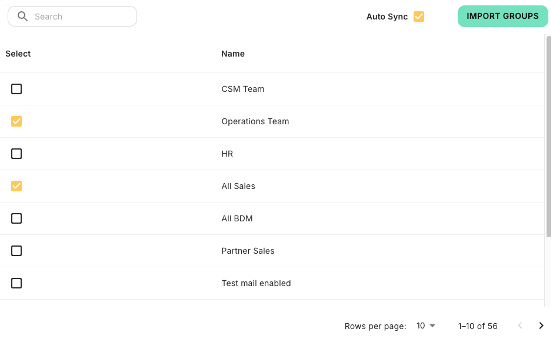
Once the import of the User Groups has completed the administrator will be presented with the screen below to select the groups to sync with. This can be run as a one-off process, or configured to run automatically every night by ticking the 'Auto Sync' checkbox next to the 'Import Groups' button.

On clicking the 'Import Groups' button all users assigned to the groups selected will be added to the application and granted user access. With the auto-sync enabled users will also be deleted when removed from the group when the sync next runs.

How did we do?
How to set up Google Sync
Adding Users via CSV
