Table of Contents
Using the Sim Creation Tool
This article will cover how to use the Sim Creation Tool to create a Simulation Overview. On creating a Sim the user will need to complete some basic information about the Sim as per the screenshot b…
This article will cover how to use the Sim Creation Tool to create a Simulation
Overview
On creating a Sim the user will need to complete some basic information about the Sim as per the screenshot below, and described here:
- Simulation Name: This is the name that will be seen the UI when selecting the Simulation.
- Email Subject: This will be used to populate the subject of the email that the user will receive.
- Email Display Name: This will be used for the sender name field of the email that the user will receive.
- Email From Address: This will be the actual address that the email is sent from, and can be chosen from a selection of email addresses based on the domains that are owned by Boxphish.
- Simulation Domain Name: This will be the domain displayed when a user hovers over the links in the email, and can be chosen from a selection of domains that are owned by Boxphish.
- Simulation Difficulty Rating: Used to set the star rating of the Simulation difficulty. 3 being the most challenging.

Sim Body Creation
The Sim Creation Tool uses HTML combined with a range of tools to enable you to create an email format for the purpose of a phishing simulation. In this guide we will cover the follow:
- Core Tools
- HTML source code input
- Image input
- Placeholders/Links
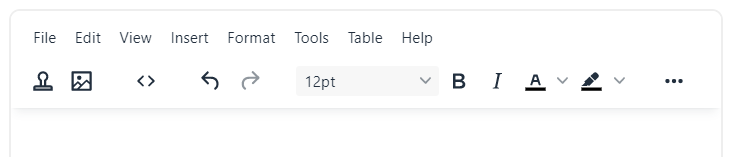
Core Tools
Text editing

The text editer includes the use of Size, Bold, Italic, Font colour, Highlighter.
Each change will be automatically written into the source code.
Undo, Redo

These arrows are used to undo or redo edits made on the tool.
Source code

The Source code tool is used to view/edit the source code of the Simulation.
Preview
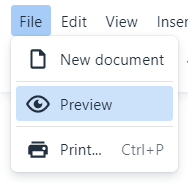
Located in File and View, Preview is used to preview your Simulation as it will appear when sent.
Alignment

These are used to select the alignment of the element you currently have selected. I.e. centre a table.
Bullet Pointing & Ident

These are used to either bullet point, number or indent text.
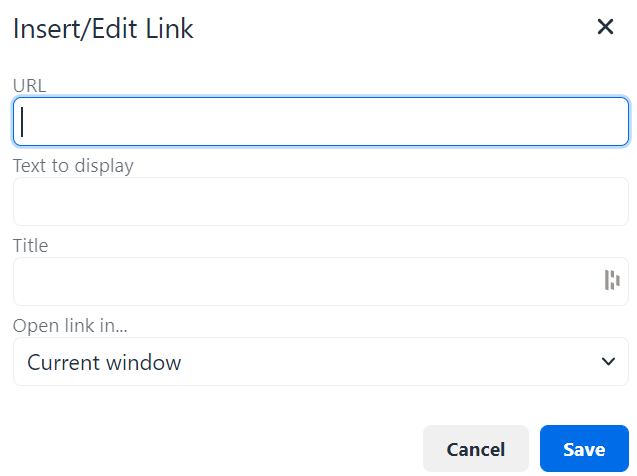
Link

This tool is used to link current text or element selection.
Click the Link tool and input URL, Text to display, Title and whether you want the link to open a new window or redirect the current page.
HTML source code input
The Simulation Creation Tool primarily relies on the input of HTML to create more complex formatted Emails/Simulations.
To input HTML click the Source code Icon ( <> )
You will see a text input box appear, shown below:
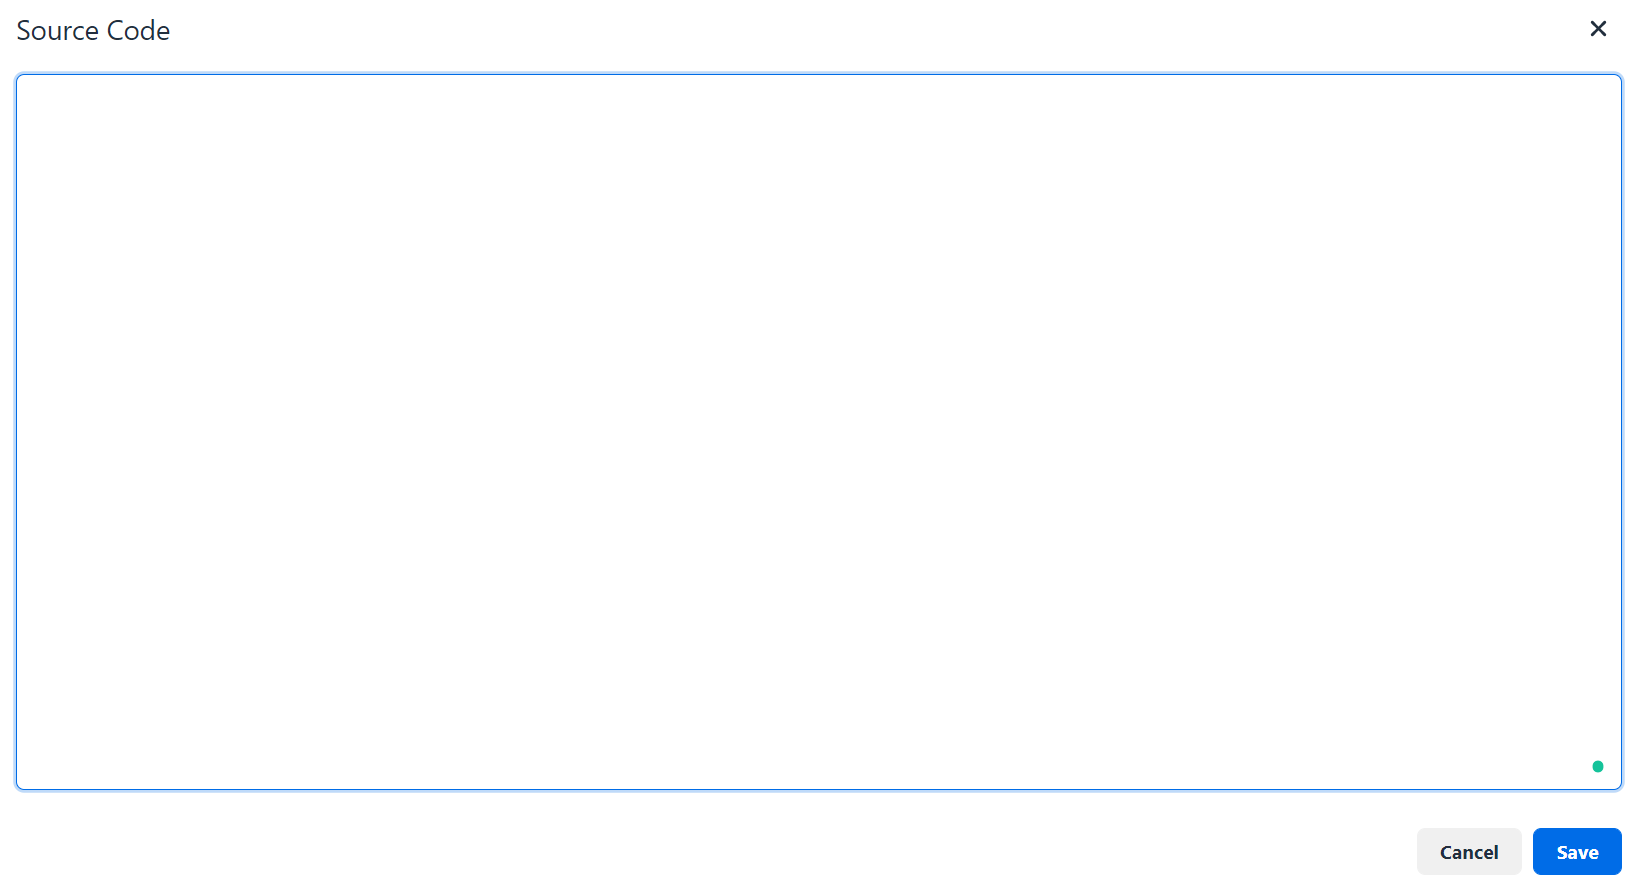
Code can be copied directly into this box from another code editing software, for example Notepad ++.
Click Save to save your work to your current project.
Once saved, you will see the result populated in the main box, such as the below:
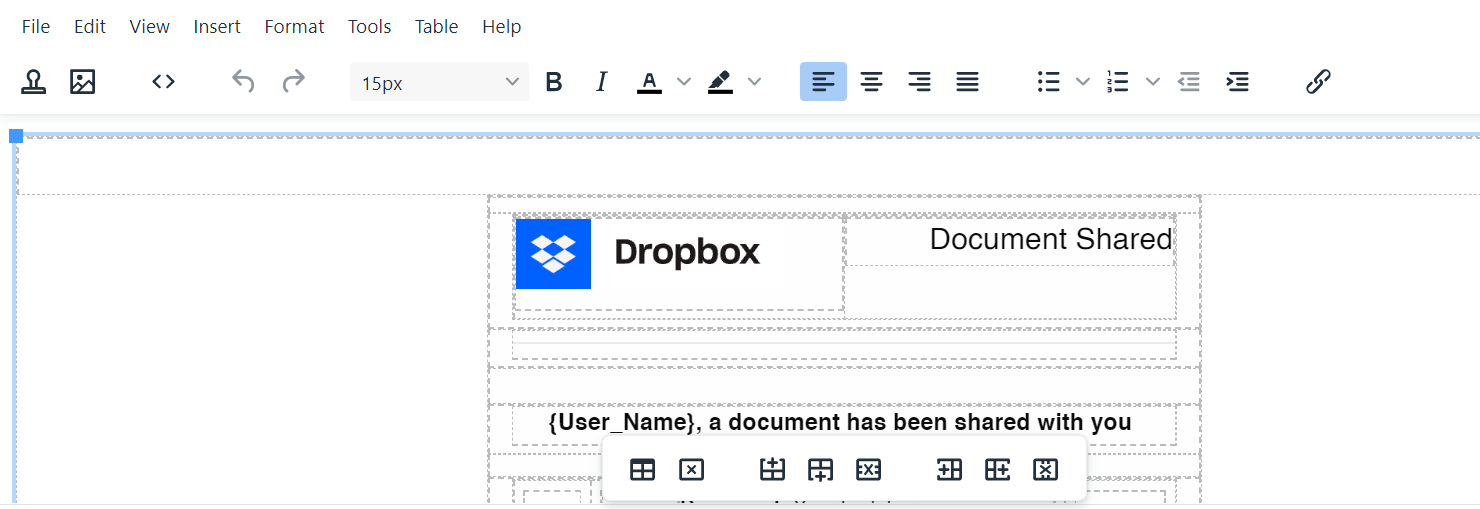
It's important to note that anything entered within the main box creates HTML within the Source code tool:
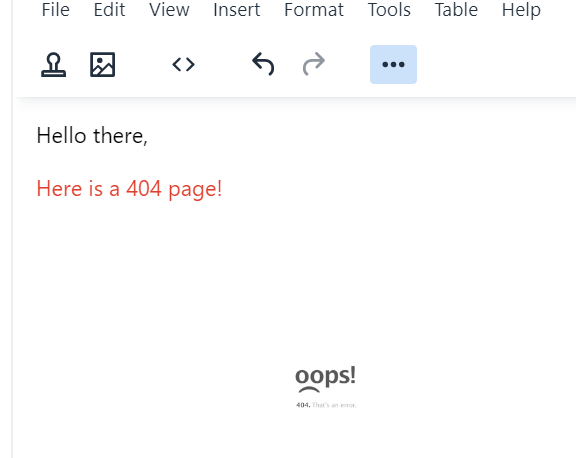
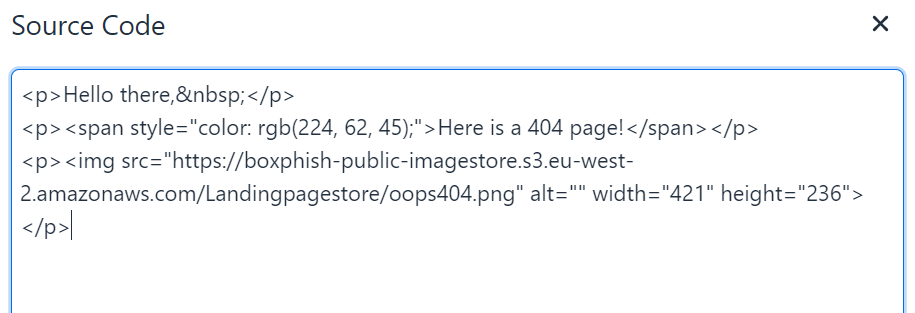
Image input
There are currently two ways to include images in your simulation. The first is through a custom image referenced through the hosted URL. This can be entered directly in the HTML, or through the Image tool as detailed below.
HTML directly through the Source code tool, shown below:

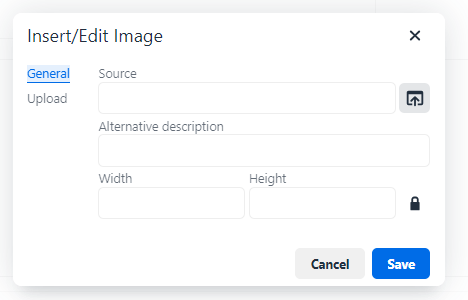
Using the Image tool URL:
- Click in the body, where you would like the image to be placed
- Select the Image tool button in the left side of the Nav bar

- Input the hosted URL of the image
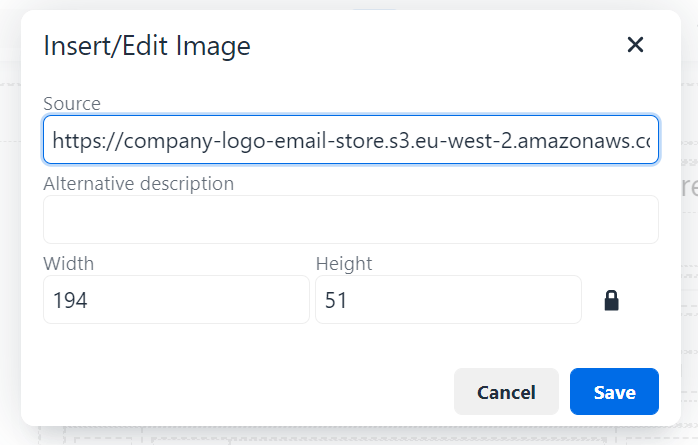
- Input an Alternative description (optional)
- Input size parameters for the image
- Click Save
The second option is to select an image from the included library of images hosted in the platform. It is also possible to upload an image if desired, however as a shared library this is available to all customers. As such proprietary, or customer specific images should not be uploaded. This method is detailed below:
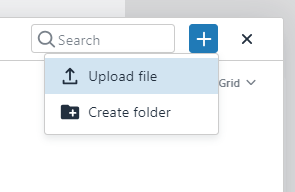
Using the Image tool upload:
- Click in the body, where you would like the image to be placed
- Select the Image tool button in the left side of the Nav bar
- Click the Upload icon on the right:
- Select the '+' icon in the top right and select 'Upload file'
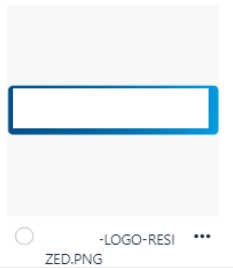
- Select the image uploaded
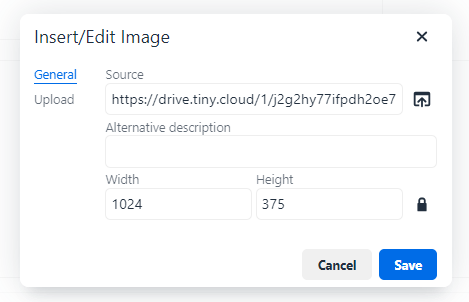
- This will populate the Source box with the image uploaded via Tiny.cloud (shown below):
Placeholders
Placeholders are used to either add a function to any element of the simulation or automatically input text.
These are listed below:
- {user.name} - This will display the user's full name
- {user.firstname} - This will display the user's first name
- {user.lastname} - This will display the user's last name
- {user.action} - This is used as a trigger to pick up a simulation having been clicked
- {user.email} - This will display the user's email address
The Placeholders can either be added via the source code or typed directly into the main body of the simulation. Such as the below:

To apply {user.action} to an element follow the below:
- Click the element you would like to attach an action to
- Select the Link tool
- In URL type {user.action}
- Click Save
Now, if a user were to click this element, for example an image, they will be redirected to the Landing page and a click will be recorded.
If you need further support in using this tool, please don't hesitate to contact support@boxphish.com

How did we do?
Phish report button
Collections