Custom Headers Allowlisting
Below is a guide on how to set up custom headers for your organization and how to apply them in M365 Exchange in order to bypass filtering for Boxphish content. Head to your Boxphish portal HERE. Cli…

Updated
by Jacob Flinders
Below is a guide on how to set up custom headers for your organization and how to apply them in M365 Exchange in order to bypass filtering for Boxphish content.
- Head to your Boxphish portal HERE.
- Click on the 'Settings' tab in the left hand menu.

- Under 'General', complete the 'Custom Email Header' section, ensuring entries conform to instructions given:
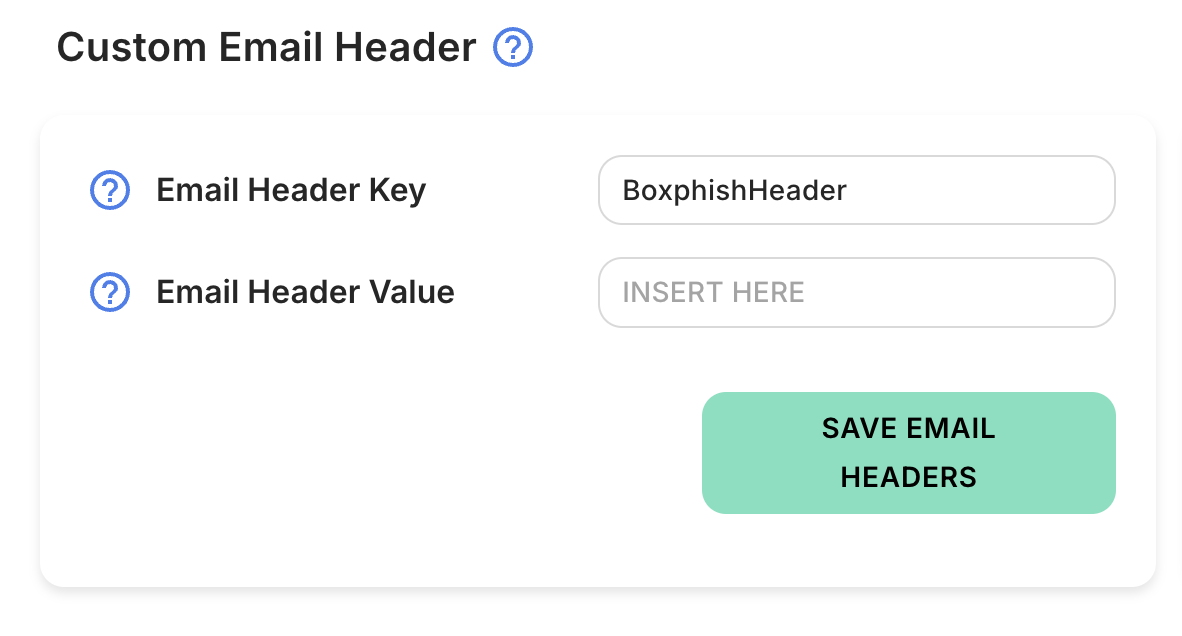
- Click the save icon in the top right hand corner of the screen.
- Keeping this page open for reference, head to M365 Exchange https://admin.exchange.microsoft.com/
- Expand the 'Mail Flow' tab on the left.
- Select 'Rules'.
- Under 'Rules', select the '+' icon, and then on the dropdown box, select ‘Create a new rule'.
- Name the rule as 'Boxphish Header Allow'.
- Under '*Apply this rule if...' select 'The Message headers...' and then 'matches these text
patterns' as shown below:
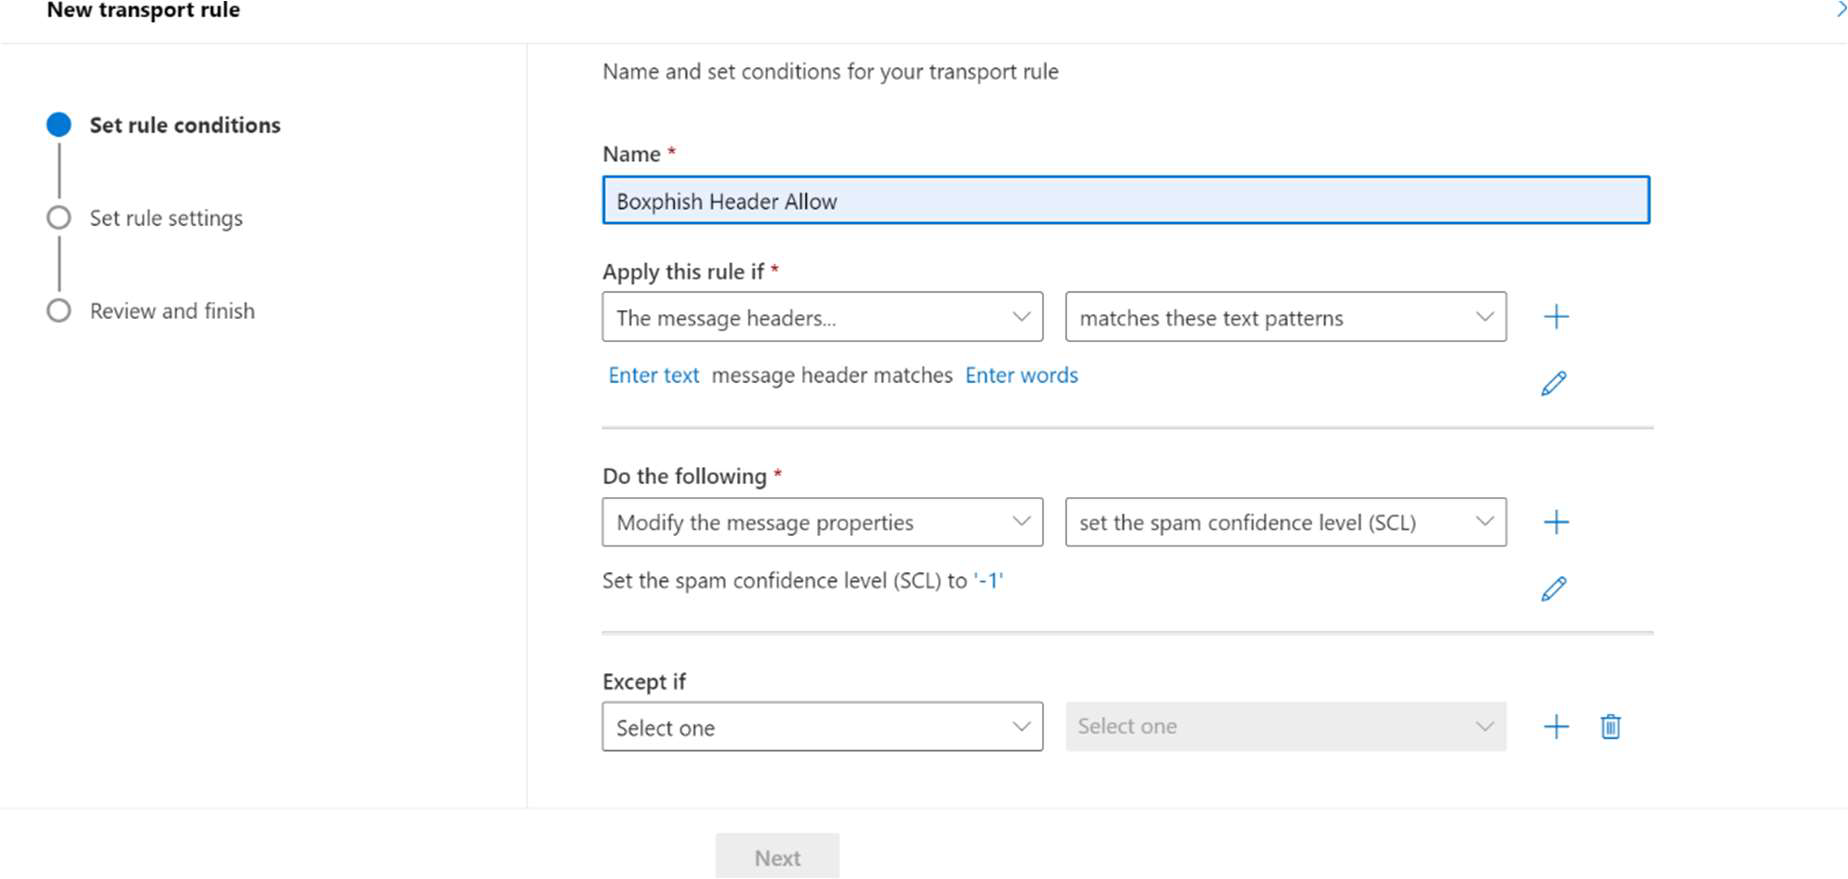
- In the 'Enter text...' section, enter your custom header key.
- In the 'Enter words' section, enter your custom header value.
- Under ‘Do the following’, Select ‘Modify the message properties’ and then in the next
dropdown box, select ‘Set the spam confidence level (SCL)’. - A new window should now appear. Under ‘specify SCL’, make sure the drop-down option is
set to ‘Bypass spam filtering’ and then click Save. - Leave the remaining settings as default and click ‘Next’, ‘Next’ again and then ‘Finish’.
- After this window has closed, Make sure the rule is enabled by double-clicking on the
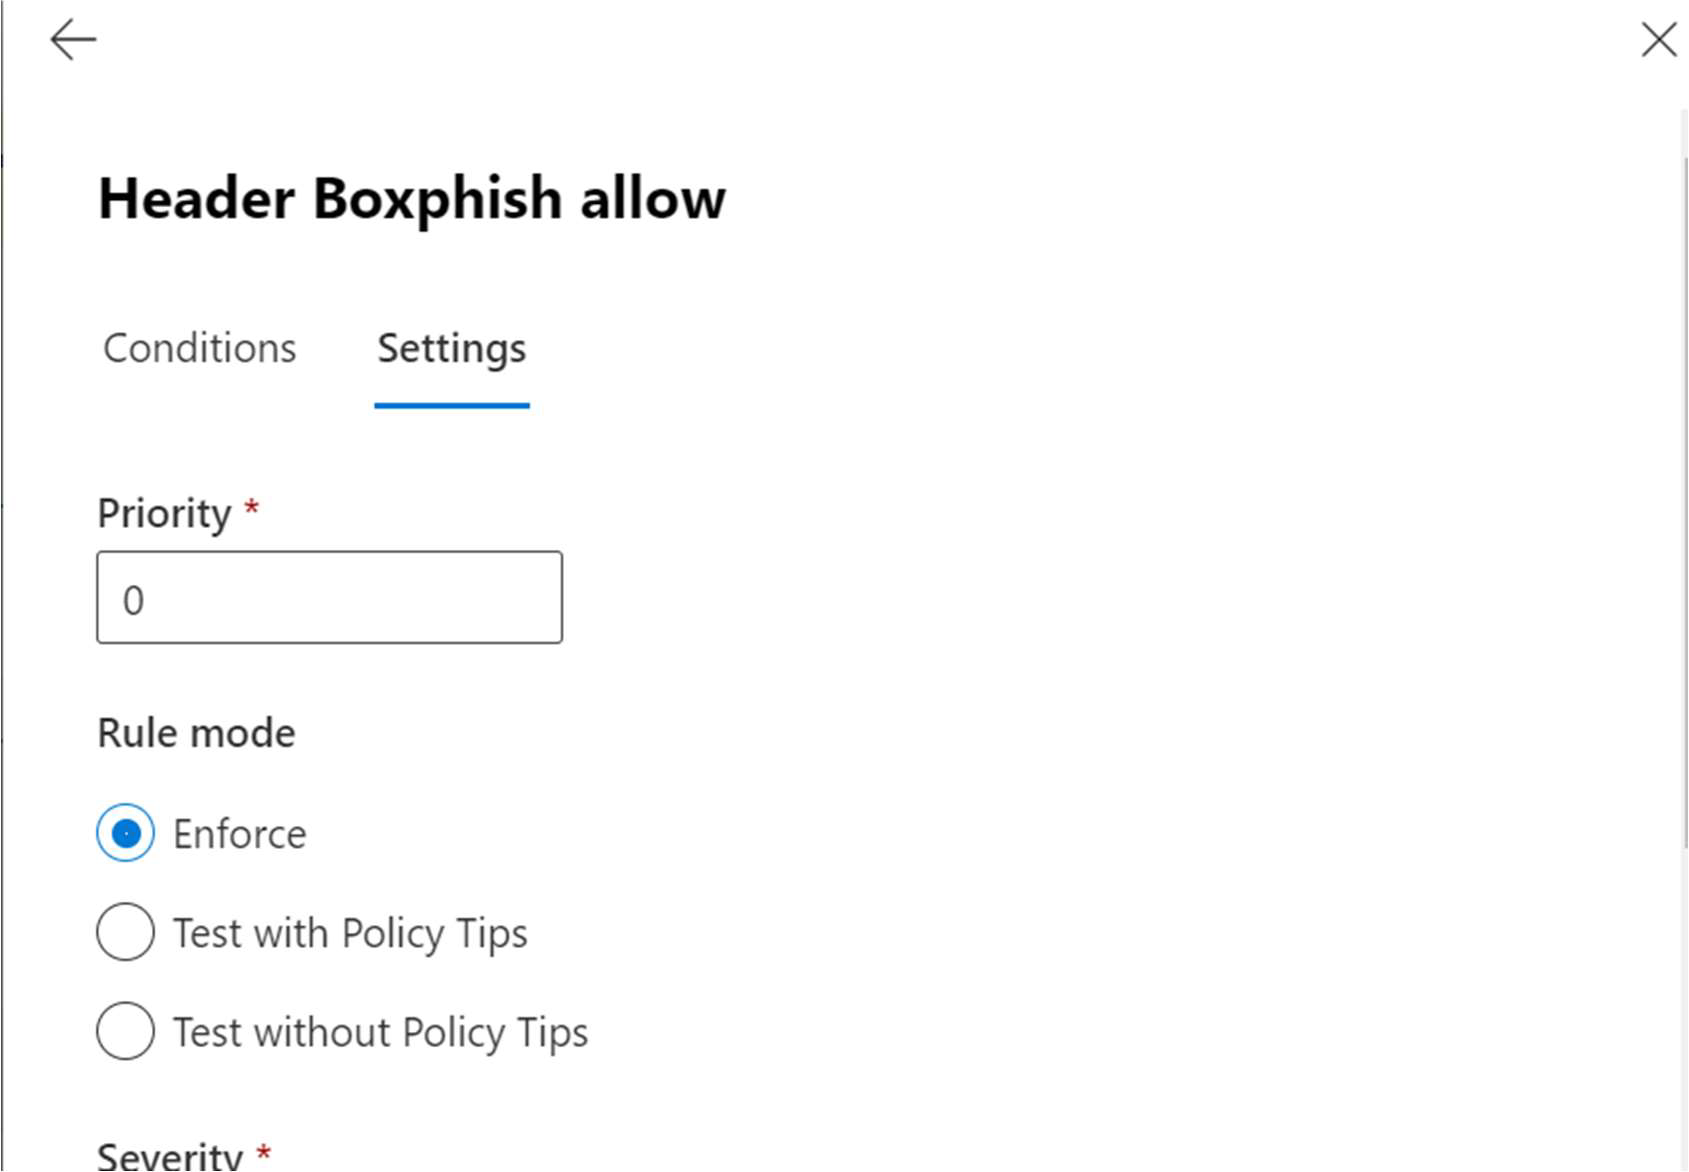
policy name and clicking the ‘Enabled’ toggle when the window appears. - Keeping the new window open, click on the ‘Edit rule settings’ button in the top right.
- Change the priority of the rule to be above any other inbound rule, or to ‘0’ as shown below:
- Scroll to the bottom and click ‘Save’.

How did we do?
Google Allowlisting
Email Protection Allow Listing